Essential Machine Quilting Hacks

READ MORE

Quilting on a sewing machine is quite tricky for a beginner. If you have decided that you will use a device to sew your quilt, then you should ensure that you get your machine ready for the task at hand.

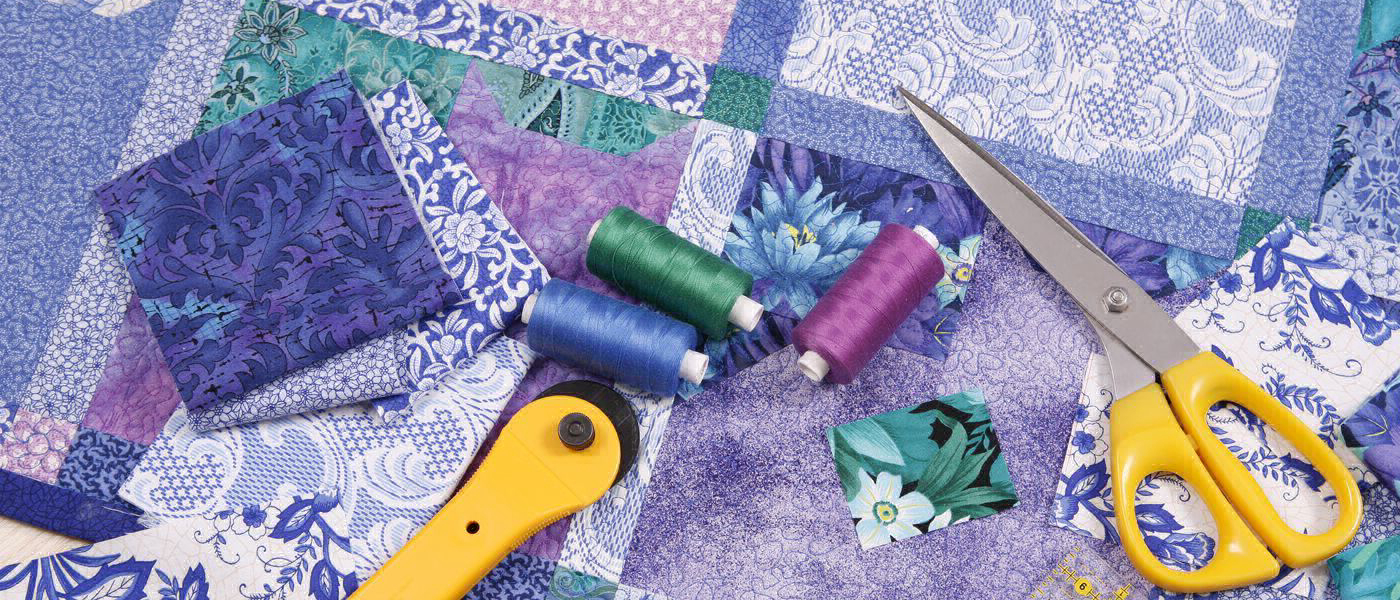
Start with a small quilt: If you have just started to sew and consider yourself a beginner, then it is beneficial to start with a little project. If you start big and mess up, then you will never have the confidence to do it again. Go with a maximum of 50 inches which is an optimal size for a beginner anything less will be too tiny for your liking. You should have enough fabric so that it rests well in your hand and you do not sew your fingers.

Use safety pins to pin down the fabric: When you are sewing the panels or even quilting, it is best to use safety pins. A flat, smooth surface is also needed, lay out the fabric and iron it so that it becomes stiff. All the puffiness that the fabric brings reduces once you iron it and your hands will feel more comfortable.

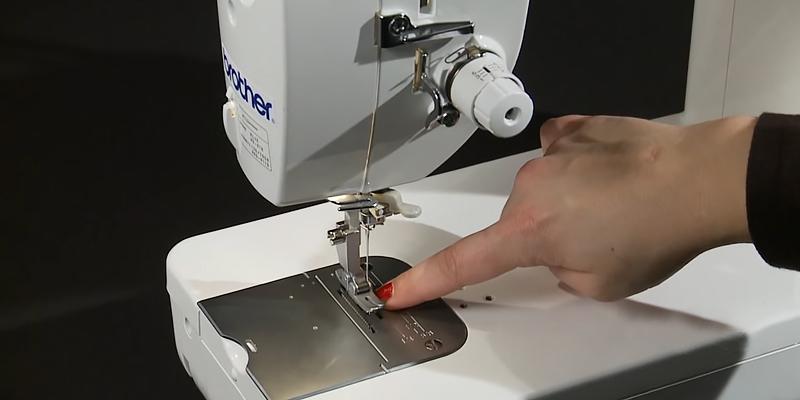
Reduce the feed dogs: The feed dogs are the parts below the plate where the fabric is fed to the needle. These should be fixed, if not you cannot expect to get straight lines. The feed dogs should be reduced to as less as possible so that they do not allow the fabric to move. To securely stitch the fabric, sew it more than once.

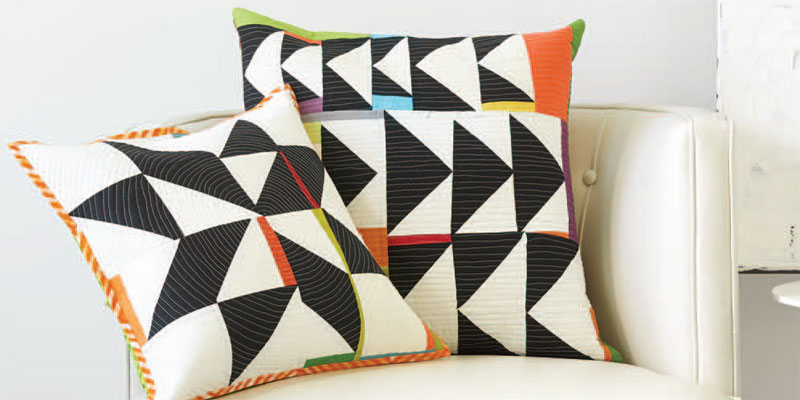
Opt for bold designs on fabric: Choose fabric which can cover up your mistakes. The back of the quilt should not be of a solid color as it does not hide all those curved thread lines in your first attempt. Look for fabric which does not show up the skipped stitch or any other mistake.

How To Sell Your Quilts Online

READ MORE

Your friends and family believe that the quilts that you have made are great and that you should start selling them, then you can do it easily online. You can begin to sell your stuff online and that too without any substantial investments, here are a few tips on how to go about that.

Target audience: You should target your product to your niche, that way you can see better sales at a lesser time. Do not try to sell it to everyone who says they like a quilt; you should look at specific searches of you want to get better results. Some of the searched you can be based on the types of quilts, materials, gender, etc.

Build your website: Having a site is essential so that you can all your products listed in a place from where you can sell. By having a website, you can have customers buy these products all the time.

It is not a rule that you have to sell only those products that you make; you can sell others work too. In fact, selling other products is better as you can make more money out of it. You can choose products that are profitable and sell them along with other lucrative options.

Guide To Learn Binding Quilts

READ MORE

The fabric that is used to cover the edges of the quilt, batting, and the backing is called the quilt binding. When you bind a quilt, it helps to secure the borders and also makes the quilt look better. A binding is the last step to making a quilt. Any fabric can be used for binding; it can be something that you have already used to make the quilt or anything else that will enhance the design. It is better to have two layers of fabric rather than one to make it more long-lasting.
Find below step-by-step instructions on binding quilts.

Calculate the strips: Check the size of your quilt and then double it. Add 10’’ more to the corners and seam, divide by 40” to get the total number of strips that you will need.
Stitch: Two strips are placed perpendicular to each other and stitched diagonally. Cut the backing and batting that are extra even before you start to string the binding together. If you have any seams that are in the corners, you should move them so that seams are not in the corners. Fold the edge of the binding so that it faces the quilt and put it in the front so that you have a gap of about 8”. The end of the quilt should be next to the binding. Start sewing from the front of the quilt and allowing a difference of a quarter inch. Stop stitching just before the corner.
Hand stitching: The binding should go behind the quilt and keep it in place use clips before you stitch it by hand. Using a needle to sew the binding and knot it at the end, you can use two threads to ensure it is firmly held. The stitch should be done only with the batting and backing and remove the extra yarn. Continue the same process across the length of the quilt, and you do with binding the quilt.