The Singer Featherweight: A Quilter’s Lifelong Companion
Ask a room full of quilters to name their dream vintage machine and one answer comes up again and again: the Singer Featherweight. Small, elegant, and almost absurdly reliable, this little black machine has earned a place in quilting history that far exceeds its modest size. To see why, it is worth looking at a quilter’s own Singer Featherweight machines and how they still perform on real projects.
Nearly a century after it was introduced, Featherweights are still prized, still used, and still changing hands among sewers who know their worth. Communities like Nadel Frau celebrate these machines as working companions rather than museum pieces, and the enthusiasm is easy to understand once you know the story.
A Machine Born at a World’s Fair
The Featherweight 221 made its debut at the 1933 Chicago “Century of Progress” World’s Fair. At a time when most sewing machines were heavy, immovable fixtures, Singer offered something radical: a full-function machine that weighed only about eleven pounds and packed neatly into its own carrying case. It remained in production into the 1950s, and that long run means a healthy number survive today.
Why Quilters Love It
The Featherweight does one thing and does it beautifully: a clean, consistent straight stitch. For piecing, that is exactly what a quilter needs. There are no decorative stitches to fuss with, no complicated settings — just a dependable seam, every time.
- Portable at roughly eleven pounds, case included.
- Produces an exceptionally even straight stitch for piecing.
- Simple mechanics that are easy to clean and maintain.
- A large, friendly community of owners sharing tips and parts.
Knowing the Variations
Not every Featherweight is identical. The familiar black 221 is the classic, but Singer later produced a white 221K in Scotland, and the rarer 222K offered a free-arm design that collectors especially prize. Small differences in decals, finish, and features can affect both desirability and value. Learning to tell them apart is part of the fun of collecting.
Dating a specific machine is straightforward in principle: the serial number stamped on the machine points to its year of manufacture, which you can confirm through established collector databases. Beyond that, condition and completeness — original case, attachments, and manual — make a real difference in how a machine is valued.
Buying With Confidence
If you are hunting for a Featherweight, patience pays off. They turn up at estate sales, quilt shows, and online marketplaces, and prices swing widely depending on model and condition. Before you buy, listen to the machine run if you can, check that the motor and wiring are safe, and make sure the bobbin case and feed are intact. A machine that needs only cleaning and oil is a far better bargain than one with missing parts.
Once you have one, the maintenance is refreshingly simple. Regular oiling, gentle cleaning of the feed dogs and bobbin area, and a fresh belt when needed will keep a Featherweight humming for decades more. The enduring charm of this machine is that it bridges generations — a Featherweight bought today connects a modern quilter to the women who pieced quilts on the very same model in the 1940s. For a quilter, there may be no more fitting heirloom.
 Once you have created a couple or 10 quilts you might want to consider selling them. You can give them away to friends and family members and you can even sell them for FUN AND PROFIT. After all, you will need to recoup all that money and time you spent creating your fabulous creations and what better way than to sell a few. Of course, the more inventory you can create before you decide to sell the better. And the more the make the faster you will get at making them. There are various avenues for selling your quilts and Spring and Fall are probably the better times to try and sell them. You can pay the fees for a booth at a local quilting show or even pay the smaller fees at your local Flea and Farmers Market. But if you don’t want to schlep all your inventory to any of these places you can create a website.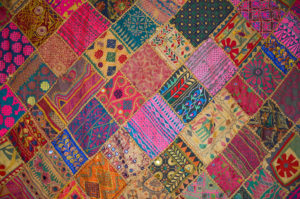
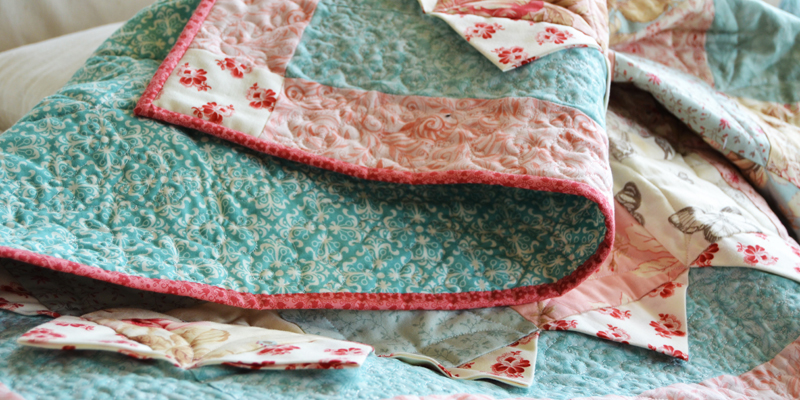 They never seem to come often enough — weekends spent quilting with friends. A lot of projects were waiting to go along with me, but I mainly worked on just a couple. I never empty very many bobbins, but that’s not the point of the weekends. It’s the getting together, relaxing, and sharing that’s important (sharing food, advice, stories, and friendship).